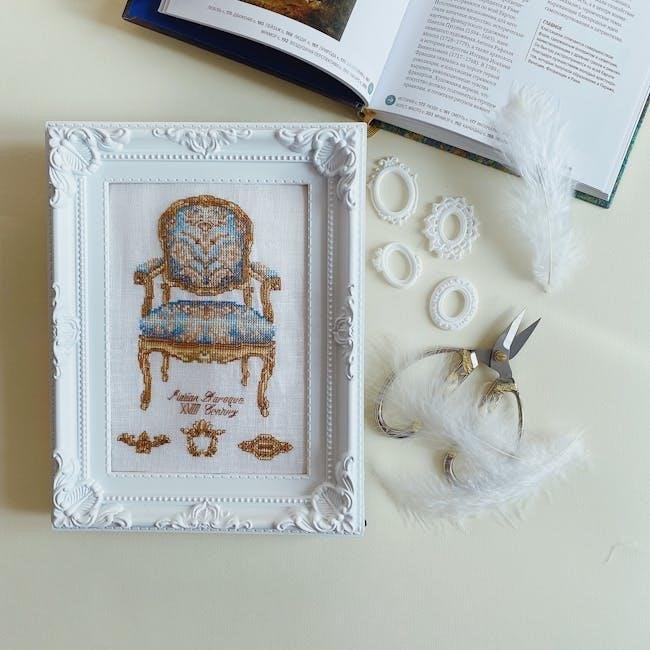
Crafting’s recent surge in popularity, especially during times of increased indoor activity, highlights cross stitch’s appeal as a calming and creatively fulfilling hobby.
Many find satisfaction in its imaginative aspects, and completed pieces beautifully enhance home décor, offering a rewarding experience for all skill levels.
What is Cross Stitch?
Cross stitch is a form of counted-thread embroidery, meaning stitches are made over a specific number of fabric threads, creating a pixelated design. It’s a remarkably accessible craft, requiring minimal specialized skills to begin, making it perfect for beginners seeking a relaxing and rewarding pastime.
Unlike freehand embroidery, cross stitch relies on following a pre-determined pattern, typically charted on graph paper. Each square on the chart represents one stitch on the fabric, ensuring accuracy and a defined image. This structured approach is incredibly satisfying, and the repetitive motion can be wonderfully meditative.
The beauty of cross stitch lies in its simplicity and versatility; it’s a craft that can be adapted to create everything from simple floral motifs to intricate landscapes. It’s a timeless technique, enjoyed by crafters for generations, and continues to thrive in today’s maker community.
Why Choose Cross Stitch as a Hobby?
In today’s fast-paced world, cross stitch offers a welcome escape, providing a calming and imaginative outlet for stress relief. The repetitive nature of the stitches can be incredibly meditative, promoting mindfulness and a sense of tranquility. It’s a hobby that allows you to disconnect from screens and reconnect with a tactile, creative process.
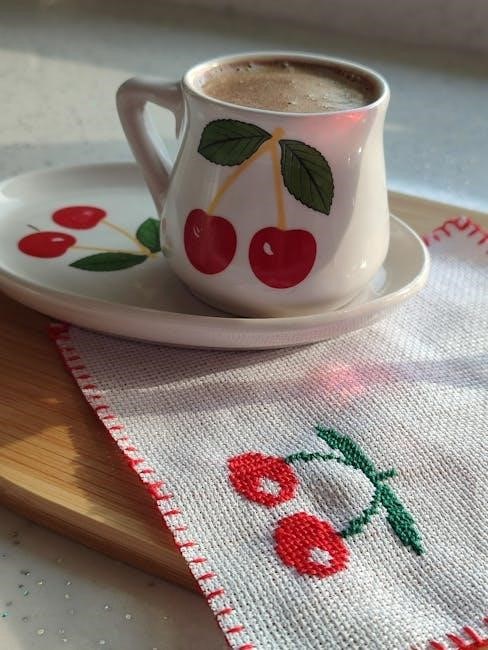
Beyond its therapeutic benefits, cross stitch yields beautiful, tangible results. Completed projects can add a personal touch to your home décor or serve as thoughtful, handmade gifts. The satisfaction of transforming a blank canvas into a vibrant design is immensely rewarding.
Furthermore, cross stitch is a relatively inexpensive hobby to start, requiring only a few basic materials. It’s a skill that can be learned at your own pace, with a wealth of online resources and supportive communities available to guide you.
Essential Materials for Cross Stitch
To begin your cross stitch journey, gather Aida cloth, floss (DMC or Anchor), needles, a hoop, and small scissors – these tools unlock creative expression!
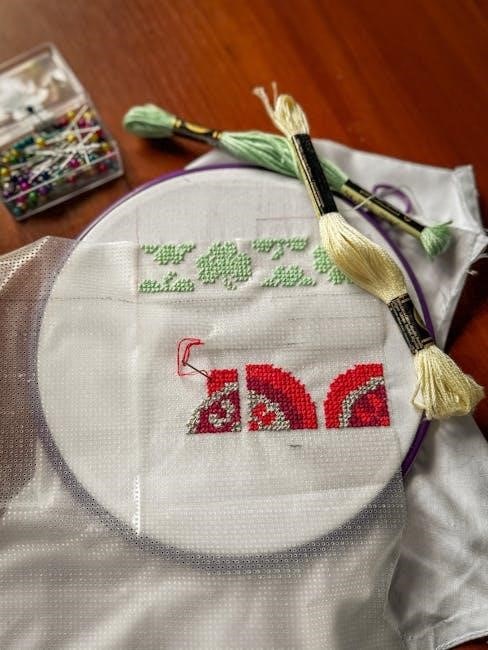
Fabric: Aida Cloth Explained
Aida cloth is the most popular fabric for cross stitch, and for good reason! It’s an even-weave fabric, meaning the threads are neatly organized in a grid pattern, creating distinct squares. These squares, or holes, provide clear spaces to form your stitches, making it incredibly beginner-friendly.
The “count” of Aida cloth refers to the number of squares per inch. Lower counts (like 14-count) have larger squares, ideal for beginners as they are easier to see and stitch into. Higher counts (like 16 or 18-count) have smaller squares, resulting in a more detailed and refined finished piece.
White Aida is a classic choice, but it’s available in a wide range of colors, allowing you to complement your design. When starting, 14-count white Aida is highly recommended for its ease of use and versatility. It provides a forgiving surface to learn and practice your stitches.
Floss: Understanding DMC and Anchor Threads
Embroidery floss, the thread used in cross stitch, comes in a vast array of colors and materials. Two of the most prominent brands are DMC and Anchor, both offering excellent quality and extensive color palettes. DMC is globally recognized and boasts a standardized numbering system, making it easy to follow patterns.
Most floss is made of six strands twisted together. For cross stitch, you typically separate these strands to achieve the desired coverage. Patterns will specify how many strands to use – often two or three – influencing the stitch’s texture and fullness.
Both DMC and Anchor floss are typically made of 100% cotton, though variations exist. Choosing the right floss depends on personal preference and pattern requirements. Starting with DMC is often recommended due to its widespread availability and clear color charts.
Needles: Choosing the Right Size
Selecting the correct needle is crucial for comfortable and efficient cross stitch. Cross stitch needles, also known as tapestry needles, have a large eye to accommodate embroidery floss and a blunt tip to avoid splitting the fabric threads. Needle sizes are indicated by numbers; higher numbers denote larger needles.
For Aida cloth, a common fabric for beginners, sizes 24 and 26 are generally recommended. The size you choose depends on the Aida count – the number of squares per inch. Lower Aida counts (like 14-count) require larger needles (size 24), while higher counts (like 18-count) benefit from smaller needles (size 26).
Experimenting with different sizes helps find what feels most comfortable. A needle that slides through the fabric easily without forcing is ideal, ensuring neat and consistent stitches.
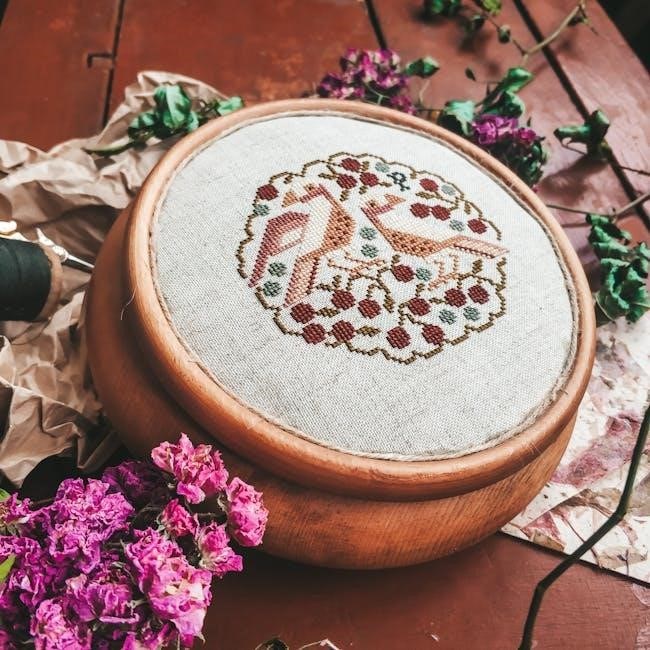
Hoops & Frames: Keeping Your Fabric Taut
Maintaining taut fabric is essential for even cross stitch tension and prevents distortion. Hoops and frames serve this purpose, holding the fabric secure while you work. Embroidery hoops are typically made of wood or plastic and come in various sizes.
For beginners, a 6-inch or 8-inch hoop is a good starting point. Ensure the fabric is centered within the hoop and tightened firmly, like a drum. Frames, often larger and more stable, are suitable for bigger projects. They can be freestanding or mounted on a stand.
Proper tension prevents puckering and makes counting stitches easier, contributing to a neater, more professional finish. Adjust as needed while stitching to maintain tautness.
Scissors: Small and Sharp are Key
Dedicated embroidery scissors are a crucial tool for any cross stitcher. Unlike general household scissors, these are designed with fine, pointed blades perfect for precisely snipping floss ends close to the fabric.
Small scissors offer greater control and prevent accidental cuts to your work. Sharpness is paramount; dull blades can fray the floss and make clean cuts difficult. Invest in a quality pair – they’ll last for years with proper care.
Keep them solely for embroidery to maintain their sharpness and avoid damage. Regularly clean and oil the blades for smooth operation and longevity. Precise cuts contribute to a polished, professional finish.
Basic Cross Stitch Techniques
Mastering fundamental stitches unlocks a world of creative possibilities. Learning to consistently create neat ‘X’ shapes, manage thread ends, and follow charts is essential.
The Basic X Stitch: Step-by-Step Guide
Begin by bringing your needle up through one hole in the Aida cloth, creating the first half of your stitch. Then, insert the needle diagonally across into the opposite hole, completing the first diagonal line.
Next, bring the needle up again through the third hole, positioned directly across from your starting point. This forms the second diagonal line, intersecting the first to create a complete ‘X’.
Ensure each stitch is consistent in tension – not too tight, nor too loose – for a neat and even appearance. Repeat this process, working rows of stitches in the same direction for efficiency.
Remember to maintain a consistent slant to all your stitches; either all top-left to bottom-right, or vice versa, for a polished look. Practice makes perfect, so don’t be discouraged if your first attempts aren’t flawless!
Starting and Ending Threads: Avoiding Knots
To begin a new thread, avoid knotting it! Instead, weave the end under several stitches on the back of your fabric. This secures the thread without unsightly bumps. A common technique is to leave a short tail on the front and weave it under completed stitches.
When finishing a thread, don’t simply cut it close to the fabric. Thread the needle back under several stitches on the reverse side, creating a secure anchor. Gently pull the thread to hide the tail within the existing stitches.
Consistent practice of these methods minimizes knots and ensures a clean, professional finish. Avoiding knots is crucial for a smooth fabric back and a durable piece.
Remember, patience is key when securing threads – a little extra time prevents frustration later!
Counting and Following a Pattern
Cross stitch patterns are essentially maps for your needle! They use symbols to represent different floss colors. Each square on the chart corresponds to one stitch on your Aida cloth; Accurate counting is essential for a successful design.
Begin by finding the center of your fabric and the pattern. Use a highlighter to mark off sections as you complete them. This prevents confusion and helps you stay on track. Work one color at a time, completing all instances of that symbol before moving on.
Double-check your counts frequently, especially when changing colors or navigating complex areas. A magnifying glass can be helpful for intricate patterns. Patience and precision are your allies!
Backstitch: Adding Detail and Definition
Backstitch is a fantastic technique to elevate your cross stitch projects, adding fine details and a polished look. Unlike the full cross stitch, backstitch creates a solid line, perfect for outlining shapes or adding small features like flower stems or facial expressions.
To execute a backstitch, bring your needle up through one hole, then down through the hole one space forward. Bring it up again a space ahead of your previous stitch, and repeat. It’s a simple, linear stitch!
Use a contrasting color to make the backstitch stand out, and refer to your pattern for placement. It truly brings your designs to life!
Understanding Cross Stitch Patterns
Patterns utilize symbols representing floss colors, arranged on a grid for easy replication on your fabric; mastering chart reading unlocks creative stitching possibilities.
Pattern Symbols and Colors
Cross stitch patterns aren’t simply colorful pictures; they’re coded maps for your needle! Each symbol on the chart corresponds to a specific floss color, usually indicated by a DMC or Anchor number. Don’t be intimidated by a seemingly complex chart – it’s a visual guide designed to make the process manageable.
Typically, a key or legend accompanies the pattern, clearly listing each symbol and its corresponding floss color. Pay close attention to this key; accurate color matching is crucial for a beautiful finished piece. Some patterns may also use shading or variations within a color, indicated by different symbols for slightly different hues.
Understanding these symbols is the first step to successfully translating the pattern onto your fabric. Take your time, double-check your work, and enjoy the process of bringing the design to life, one stitch at a time!
Grid Systems and Chart Reading
Cross stitch patterns are built upon a grid system, mirroring the evenweave structure of Aida cloth. Each square on the chart represents one stitch on your fabric. Learning to read this chart is fundamental to successful stitching. Start by locating the center of both the pattern and your fabric – often marked with arrows or notes.
Charts are read from right to left and top to bottom, following the grid. Pay attention to the scale; a single square doesn’t necessarily equal one centimeter. Count carefully to ensure accurate placement of each stitch, preventing distortion of the design.
Practice reading the chart slowly, tracing the pattern with your finger before stitching. This will help you internalize the grid system and confidently translate the design onto your Aida cloth.
Full vs. Partial Stitches
Cross stitch patterns utilize both full and partial stitches to create varying effects. A full cross stitch, as the name suggests, completes both diagonal legs of the ‘X’. These form the bulk of most designs, providing solid coverage and a traditional look.
Partial stitches, however, involve only one leg of the stitch – often a half stitch or a quarter stitch. These are used for shading, highlighting details, or creating a softer, more blended appearance. Charts clearly indicate partial stitches with specific symbols or notations.
Understanding the difference is crucial for accurately interpreting the pattern and achieving the intended visual outcome. Mastering both techniques expands your creative possibilities within cross stitch.
Beginner-Friendly Cross Stitch Projects
Starting with simple designs like floral motifs, geometric patterns, or alphabet charts builds confidence and reinforces fundamental techniques for new stitchers.
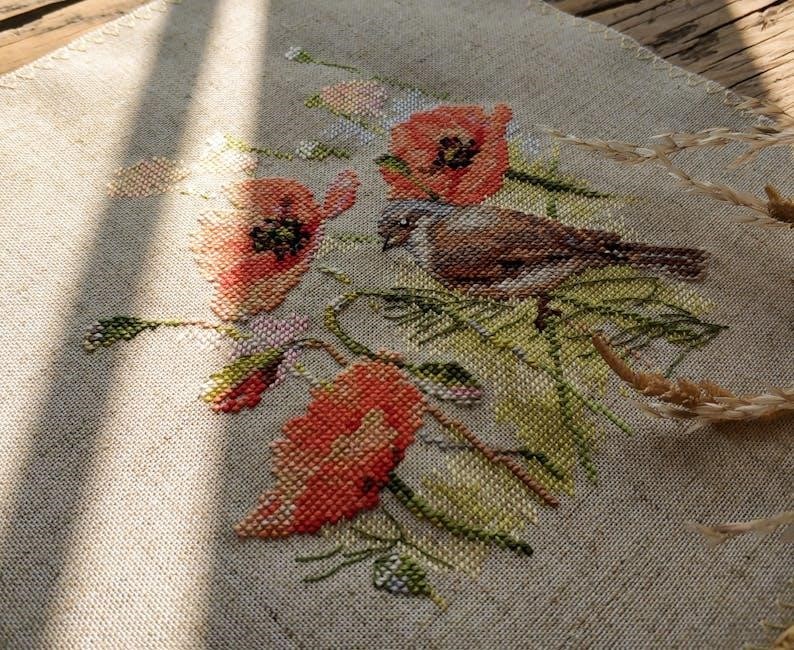
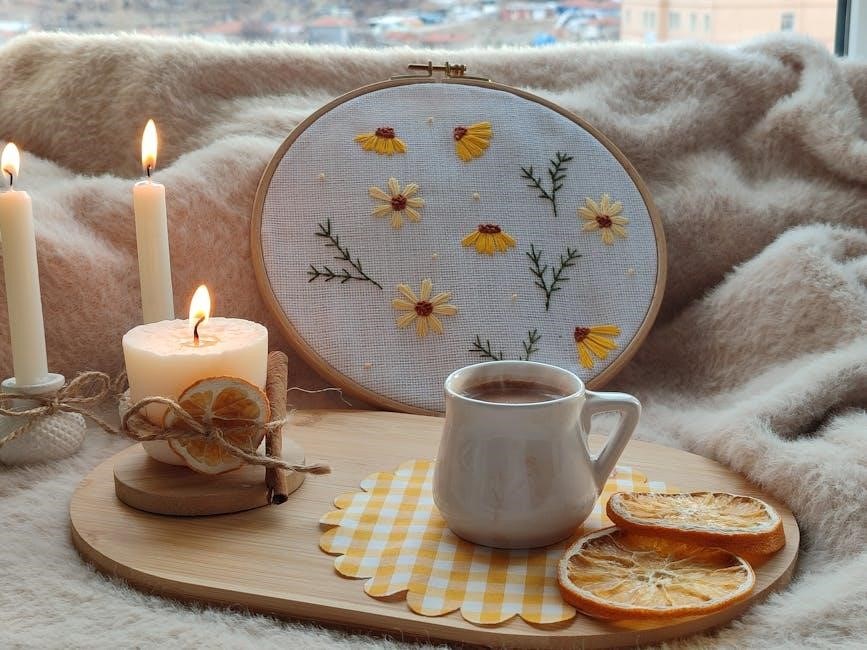
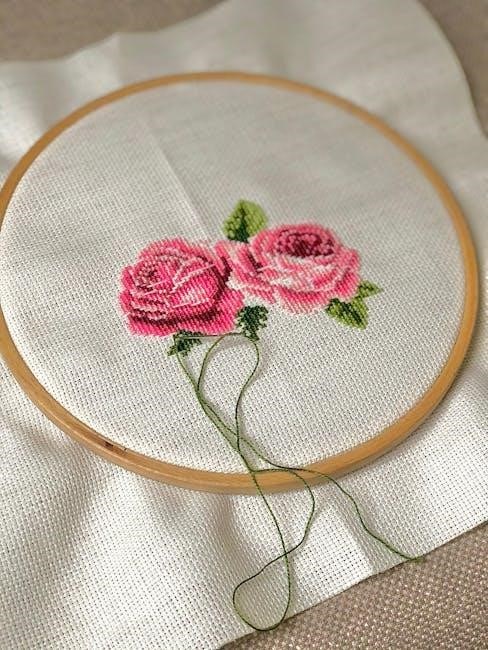
Simple Floral Designs
Floral patterns are an excellent starting point for beginners, offering a visually appealing and relatively straightforward introduction to cross stitch. Look for kits or patterns featuring large, simple blooms with clearly defined color blocks.
Begin by selecting a small design – a single flower or a cluster of two or three – to avoid feeling overwhelmed. Focus on mastering the basic X stitch and consistent tension before tackling more complex arrangements.
Utilize a limited color palette to simplify the process and reduce the number of thread changes. Pre-sorted floss kits are incredibly helpful for this. Remember to carefully follow the pattern chart, counting stitches accurately to maintain the design’s shape and proportions.
Don’t be afraid to experiment with different floss types to achieve varied textures and effects, but stick to beginner-friendly materials initially.
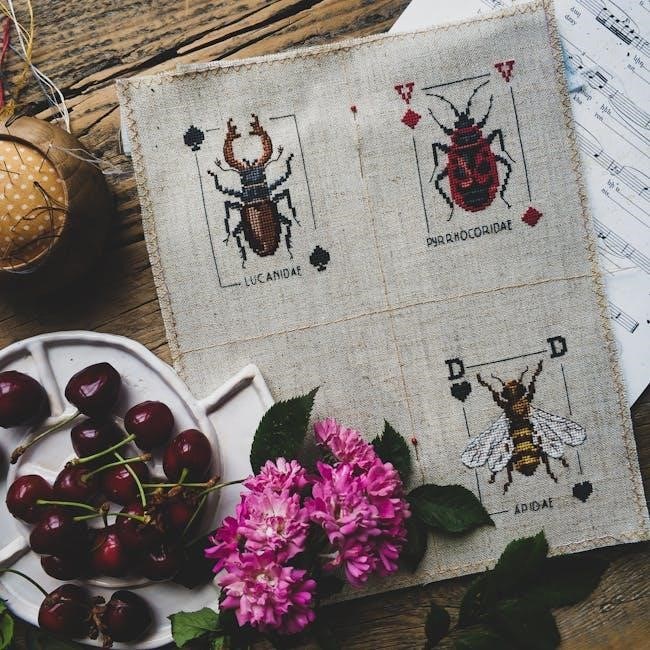
Geometric Patterns
Geometric designs provide a fantastic foundation for new cross-stitchers, emphasizing precise counting and stitch placement. These patterns often feature straight lines and repeating shapes, minimizing the need for intricate color blending or detailed shading.
Start with a simple repeating motif, like a grid of squares or a series of diagonal stripes. This allows you to practice consistent stitch length and tension without the distraction of complex imagery.
Focus on accurately following the pattern chart, paying close attention to the grid system and color symbols. Geometric patterns are particularly forgiving, as minor imperfections are less noticeable than in more detailed designs.
Experiment with different color combinations to create bold and modern effects, or opt for a monochromatic scheme for a more subtle look.
Alphabet and Monogram Charts
Alphabet and monogram charts are ideal beginner projects, offering a practical and personalized outcome. These designs allow you to practice individual stitches and color changes while creating something truly unique – initialed décor or personalized gifts.
Begin by selecting a simple alphabet style with clear, bold lettering. Focus on stitching each letter individually, ensuring consistent stitch tension and accurate placement on the Aida cloth.
Monograms, featuring one to three letters, are even simpler and quicker to complete. They’re perfect for practicing backstitching to outline the letters and add definition.
Experiment with different fonts and color combinations to create a monogram that reflects your personal style. These projects build confidence and provide a tangible sense of accomplishment.
Troubleshooting Common Issues
Stitching can present challenges, like tangled floss or accidental mistakes. Maintaining consistent tension is also key; practice and patience will overcome these common hurdles easily.
Dealing with Tangled Floss
Tangled floss is a nearly universal experience for cross stitchers, especially beginners! Don’t despair – it happens to everyone. The key is prevention and gentle untangling. To minimize tangles, avoid using excessively long strands of floss; shorter lengths are much easier to manage.
When tangles do occur, resist the urge to pull forcefully, as this can weaken and even break the thread. Instead, gently work the knot loose with a needle or your fingers. Laying the floss on a flat surface can also help visualize and separate the strands.
Consider using a floss organizer or bobbin to keep your threads neat and prevent them from becoming intertwined in the first place. A little preparation goes a long way in maintaining a smooth and enjoyable stitching experience!
Fixing Mistakes in Your Stitching
Mistakes are a natural part of learning any new craft, and cross stitch is no exception! Don’t be discouraged by imperfections; they’re opportunities to learn. If you’ve stitched a color in the wrong place, carefully remove the incorrect stitches using a seam ripper or small, sharp scissors.
Be gentle to avoid damaging the fabric. Once the incorrect floss is removed, you can stitch the correct color in its place. For isolated errors, this is a quick fix. For larger mistakes, consider carefully unpicking several stitches around the error to create a cleaner correction.
Remember to re-secure your thread after unpicking to prevent unraveling. Embrace mistakes as part of the process, and don’t strive for unattainable perfection!
Maintaining Consistent Tension
Consistent tension is crucial for a neat and professional-looking cross stitch piece. Avoid pulling your floss too tightly, as this can distort the fabric and create puckering. Conversely, loose stitches will appear sloppy and uneven. Aim for a balanced tension where the stitches lie flat against the fabric.
Practice makes perfect! Experiment with different levels of tension to find what feels comfortable and produces the best results. A good rule of thumb is to let the floss glide through the fabric with gentle pressure.
Pay attention to how your stitches look as you work, and adjust your tension accordingly. Consistent tension contributes significantly to the overall quality of your finished project.
Resources for Further Learning
Numerous online tutorials, websites, books, and magazines offer extensive cross stitch guidance. These resources provide patterns, techniques, and inspiration for beginners.
Online Tutorials and Websites
The internet is brimming with fantastic resources for budding cross-stitchers! YouTube channels offer visual, step-by-step guidance, perfect for grasping the basic X stitch and more complex techniques. Many creators demonstrate starting and ending threads, counting patterns, and troubleshooting common issues.
Websites dedicated to cross stitch, like DMC’s official site and various crafting blogs, provide free patterns, helpful articles, and vibrant online communities. These platforms allow you to connect with fellow enthusiasts, share your work, and ask questions. Pinterest is also a treasure trove of inspiration, linking to patterns and tutorials from across the web.
Exploring these digital resources empowers beginners to learn at their own pace and build confidence in their stitching abilities, fostering a love for this rewarding craft.
Cross Stitch Books and Magazines
For a tactile learning experience, cross stitch books and magazines remain invaluable resources. Books often provide comprehensive guides, covering everything from essential materials to advanced techniques, with detailed diagrams and clear instructions. They’re perfect for those who prefer a structured approach to learning.
Magazines offer a constant stream of fresh patterns, project ideas, and inspirational designs. Many include beginner-friendly charts and step-by-step tutorials, making them ideal for building skills gradually. They also showcase the latest trends and products in the cross stitch world.
These printed materials provide a focused and distraction-free learning environment, complementing online resources beautifully.